Sunday, February 2, 2014

Chocolate Chip Cookie in a Mug


After making the Chocolate Caramel Cake in a Mug, I realized that instead of making one or two huge recipes every week, it'd be easier to make single serving recipes a few times.  That way I don't have a ton of extra sweets laying around waiting to be eaten, and there isn't as much mess for me to clean up.

The first version for this is what I did the first time.  To put it simply, I didn't like it.  It tasted funny and didn't look right either.  Part of the issue with the taste may have been that I had to use milk chocolate chips, but even if I had used semi-sweet I don't think I would have liked this recipe.  I'll post that one anyway, in case someone would like to try it even though I didn't like it.

VERSION #1

Ingredients

1 tablespoon butter, melted
1 tablespoon white sugar
1 tablespoon brown sugar
3 drops of vanilla
Pinch of salt
1 egg yolk
2 tablespoons chocolate chips (make sure they're semi-sweet!!!)

Instructions

In a bowl (or the mug) mix the butter, brown and white sugar, vanilla, and egg yolk.  Be sure to completely mix in the yolk.

Add the flour and salt, then mix again.

Fold in the chocolate chips, then (if you made this in a bowl) put into the mug.  You can also use a bowl, just make sure its microwavable.

Microwave for 40 to 60 seconds, it make not look done on top but it is.

VERSION #2

Ingredients

1 tablespoon unsalted butter
1 tablespoon granulated sugar
1 tablespoon brown sugar, firmly packed (can be light or dark)
1/2 teaspoon vanilla extract
1/8 teaspoon of salt
1 egg yolk
3 tablespoons all purpose flour
1 - 2 tablespoons chocolate chips (1 1/2 is usually good)

Instructions

Again, this can be made first in a bowl then transferred to the mug or made directly in the mug.  Melt the butter in the microwave, about 40 seconds.

Add the brown and white sugar, vanilla extract, and salt then mix thoroughly.

Mix in the egg yolk.  Make sure the egg is completely mixed in with no visible egg 'chunks.'

Combine with the flour, then add the chocolate chips.  This is where you would transfer the dough to the mug if you made it in a separate bowl.

Microwave for a minimum of 40 seconds, a maximum
of 60 seconds.  Mine took about 50 seconds to be completely done.  Eat while warm

Notes:

~ If you use a thinner mug, I would make the dough in a separate bowl.  If the mug is a wider one, then go ahead and make it in the mug.
~ As with the first version, the cookie may not look done on top, but it is.

Enjoy!!
Chocolate Caramel Cake-in-a-Mug

Typically I don't like chocolate cake, but I do like brownies and caramel paired together.  So when I saw this recipe I decided to give it a try in hopes that it'd be good.  Since it's a mug cake recipe, it doesn't take as long to make, it uses less ingredients, doesn't make as big of a mess, and is generally easier to make.

Ingredients

4 tablespoons all purpose flour
4 tablespoons sugar
3 tablespoons unsweetened cocoa powder
1/4 teaspoon baking powder
1/4 teaspoon salt
1 egg beaten
3 tablespoons milk
1 tablespoon vegetable oil (I used canola, it doesn't really matter)
2 salted caramels (or normal caramels, that what I used)

Instructions

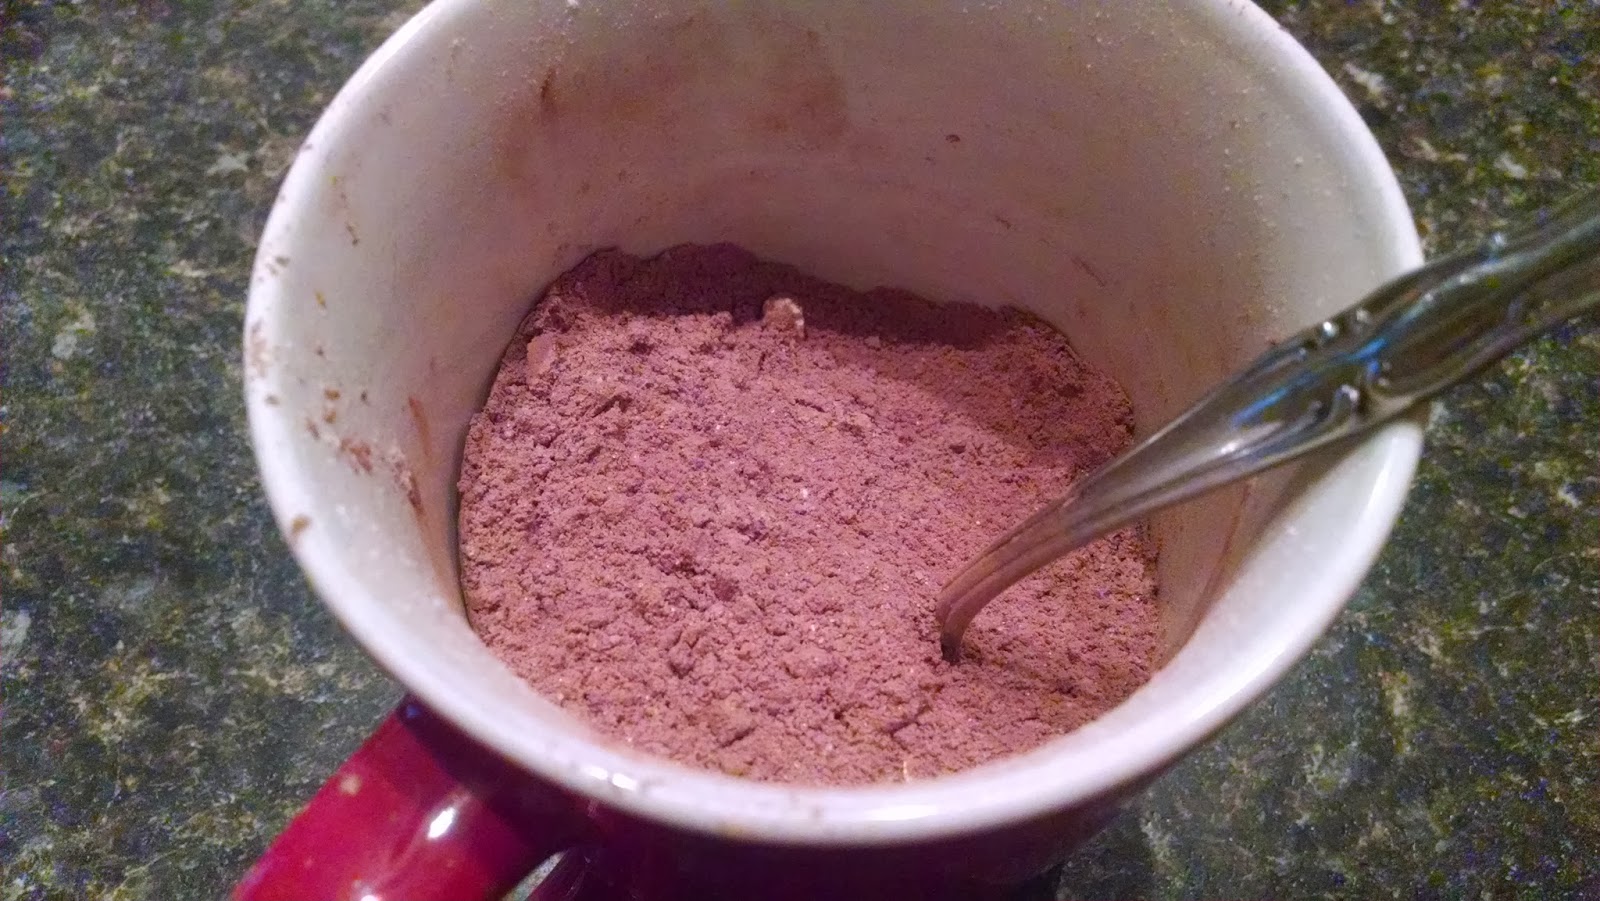
Combine the flour, sugar, cocoa powder and salt in a small bowl.  You can also do all of this in the mug to save yourself from cleaning a lot of dishes.


Add the egg, milk, and oil and mix again.

I wiped up the edges, it was not this pretty when I had just mixed it.

If you didn't make it in the mug, pour the mix into a mix now.  At this point I tasted the batter to see what it tasted like, and similar to many cakes, it was a bit too sweet for me at this point.

Drop in the caramels one at a time.  Before making this, I read the comments to see if there was a way to stop the caramels from sinking as I expected them too.  I found a nice little nugget of advice, coat the caramels in flour before dropping them in.  I wasn't sure how much flour to put on them, so I just rolled them around in flour a bit.


Microwave for one minute and thirty seconds.  You can microwave it for up to an additional thirty seconds if needed.

Notes:

~ Even with the flour, the caramels sank more than I would have liked.  Perhaps adding more flour would have prevented this, but who knows.
~ After baking, it was still too sweet for my tastes, but my family loved it.  Definitely don't use sweetened cocoa powder.


                      Enjoy!!

Peanut Butter Bars

I first got this recipe from my aunt at a family Christmas, mainly for my mom who LOVES peanut butter deserts.  And let me tell you - this recipe is peanut butter to the max.  It's also filling, and actually really simple to make.

Ingredients

Bars:
1 cup butter or margarine
1 cup brown sugar
1 cup white sugar
2 cups all purpose flour
2 eggs
1 teaspoon vanilla extract
1 teaspoon baking soda
1/2 teaspoon salt
2/3 cup peanut butter
2/3 cup oatmeal

Frosting:
2 1/2 cups powdered sugar
1/4 cup milk
1/4 cup peanut butter

Instructions:

Bars:
1.  Preheat oven to 350 degrees Fahrenheit.
2.  Combine the butter or margarine, brown and white sugars, and flour.
3.  Add the eggs, vanilla extract, baking soda, and salt.  Mix again.
4.  Mix in the peanut butter.
5.  Finally, add the oatmeal and mix thoroughly.


6.  Press into a jelly roll pan.
7.  Bake for 20 to 25 minutes.

Frosting:
Mix all ingredients well, then spread over the bars once they have cooled.

Notes:

~  This is a really peanut-butter heavy recipe, as you can see above.  It is also a dry bar, so have a glass of milk ready when eating this.
~ My mom's favorite way to serve this is warm (the bars) with a bowl of delicious vanilla ice cream.

Enjoy!!